
The John Ford’s Level, doubtless, is essentially the most iconic and recognizable spot within the Monument Valley. On the similar time, it’s most likely the busiest place within the park. Due to its proximity to the park’s entrance and big car parking zone it’s at all times stuffed with vacationers.
I didn’t have large plans for
However, once I was coming into the park, the rain got here out of nowhere. In a matter of minutes, the temperature dropped by no less than 15°C. It scared away many of the vacationers. For the following few hours, I had the Monument Valy just about to myself
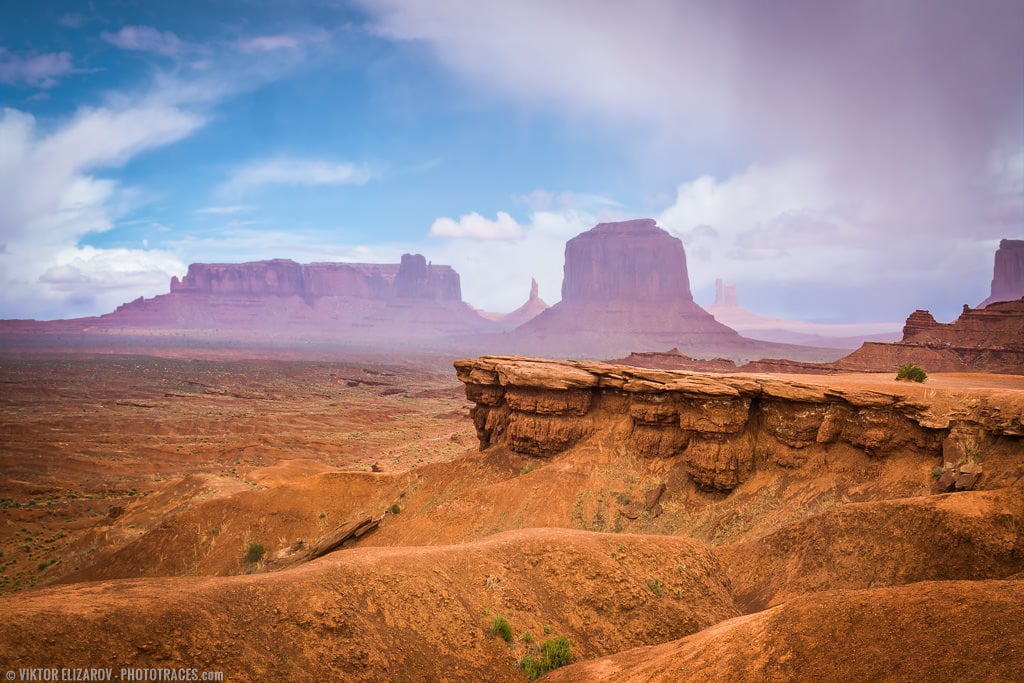
Loc: 36.953240, -110.086364
Capturing
The principle problem was to verify rain wouldn’t damage my digicam and lens. I used to be hiding the digicam beneath my jacket between the photographs and stored wiping the lens after every shot. That is once I realized that I completely wanted a climate sealed digicam and lens combo.
Digicam: Sony s6000
Lens: Sony 16-70mm
Focal Size: 20mm
Capturing Mode: Aperture Precedence (A)
ISO: 100
Aperture: F7.1
Shutter Pace: 1/250s
Tripod: handheld
Enhancing & Processing
It was a easy and uncomplicated single RAW processing workflow.
Lightroom (90%)
First, I used the Crop Overlay software to straighten the picture and to make composition a bit tighter. I used the method I outlined within the article: Learn how to Straighten a Picture in Lightroom.
Subsequent, I used the Pure preset from my Panorama Preset Assortment as the bottom for Lightroom Fast Enhancing. Then I used TOOLKIT to spice up the Distinction and the Readability.
The Lightroom Preset Enhancing Formulation: Pure (9, 12, 16, 21, 31)
Photoshop (10%)
In Photoshop all I needed to do was to spice up the small print and scale back the noise.
Plugins: DeNoise (noise discount), Topaz Element (native distinction increase).
Complete Time: 10min