
Capturing gorgeous panoramic pictures could look like an awesome job–however it doesn’t need to be.
So long as you’ve the suitable gear and the suitable know-how, panorama capturing will be straightforward, enjoyable, and really rewarding!

In any case, panoramas assist you to create sweeping, breathtaking photographs which are inconceivable to report in a single shot.
And that’s what I’m going to speak about on this article. I’m going to clarify why you would possibly need to shoot panorama pictures, the totally different varieties of panoramas you may shoot, and–most significantly–how it is best to go about capturing lovely panoramic photographs.
So when you’d like to start out capturing some really distinctive photographs…
…let’s get began!
What Is a Panoramic Picture?
A panoramic picture is definitely a mix of a number of photographs. Panoramic pictures begins out within the discipline, the place you are taking a number of overlapping photographs of the identical scene. And panoramic pictures continues throughout post-processing, the place you sew the photographs collectively to create one bigger, higher-resolution shot.
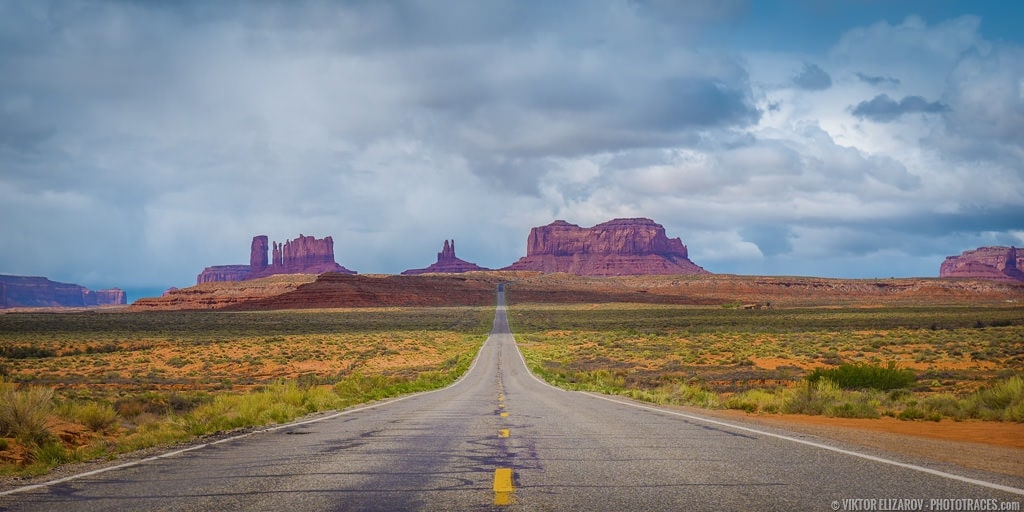
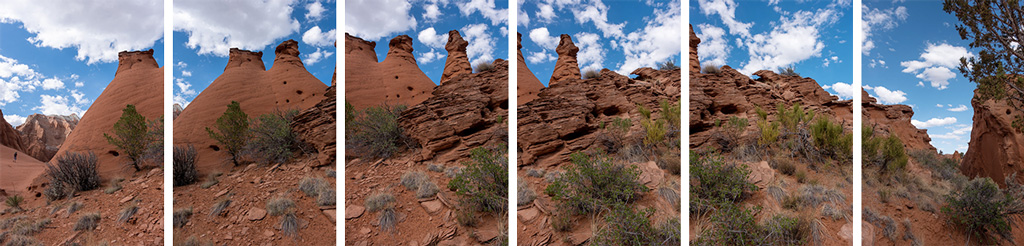
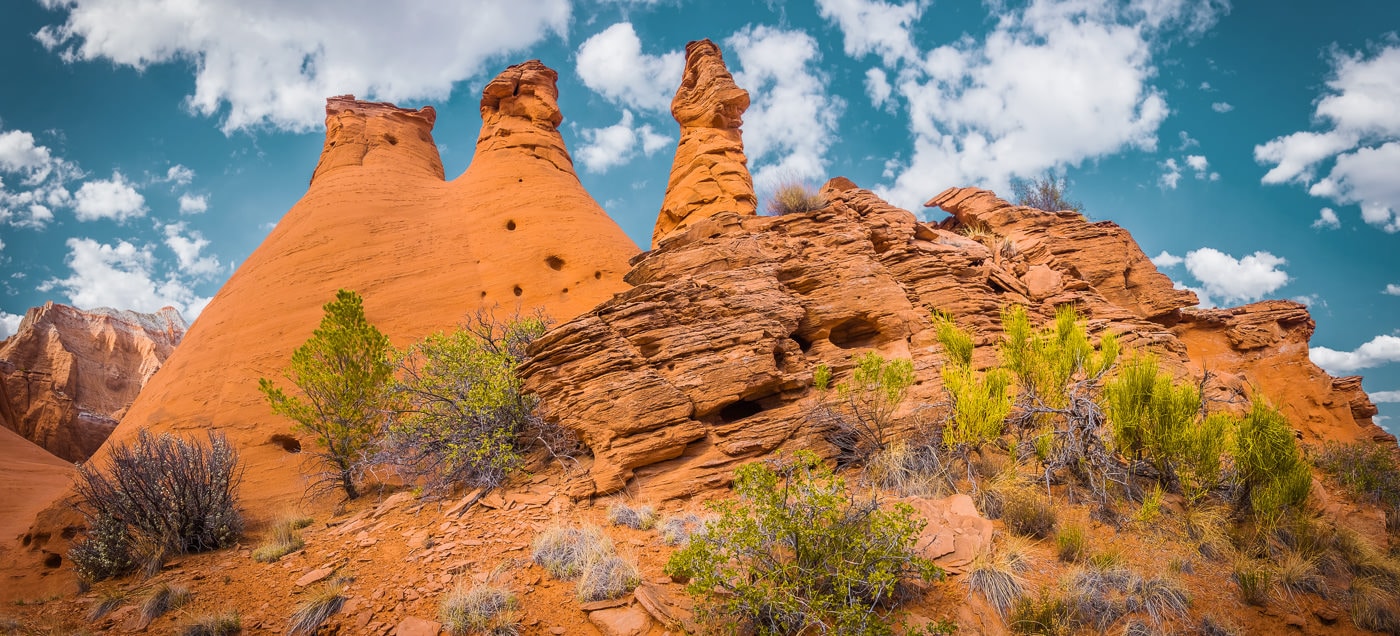
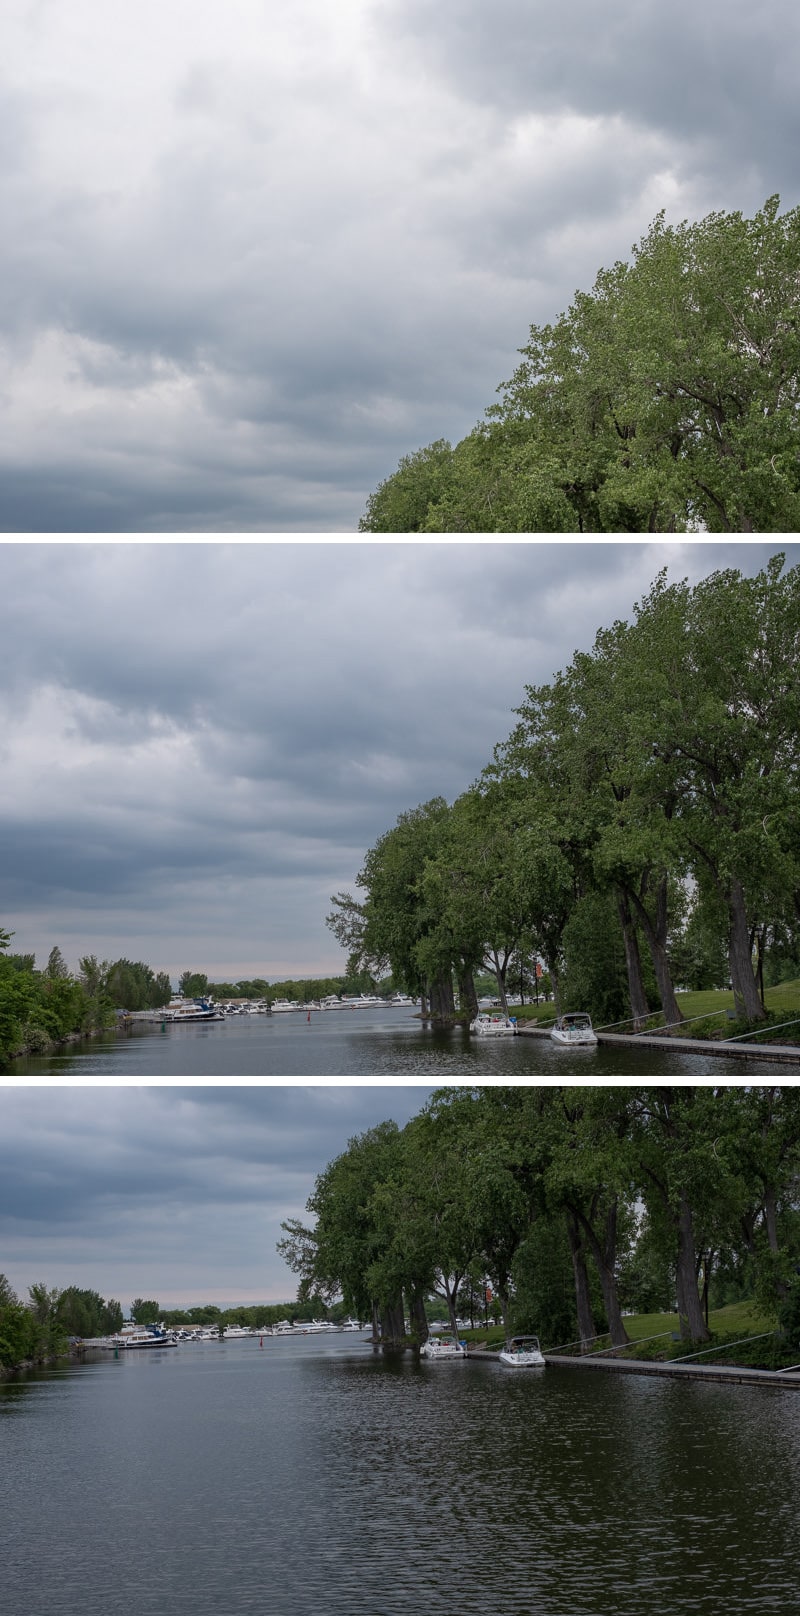
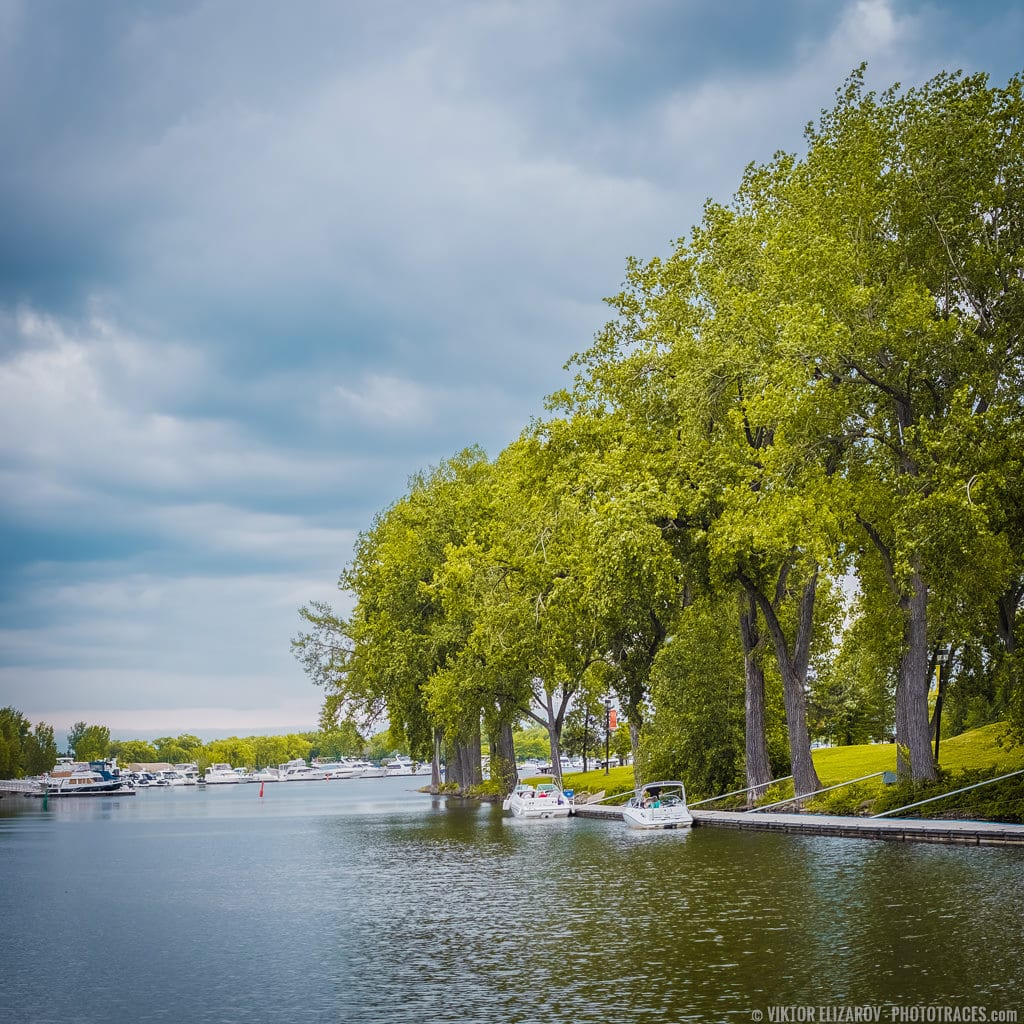
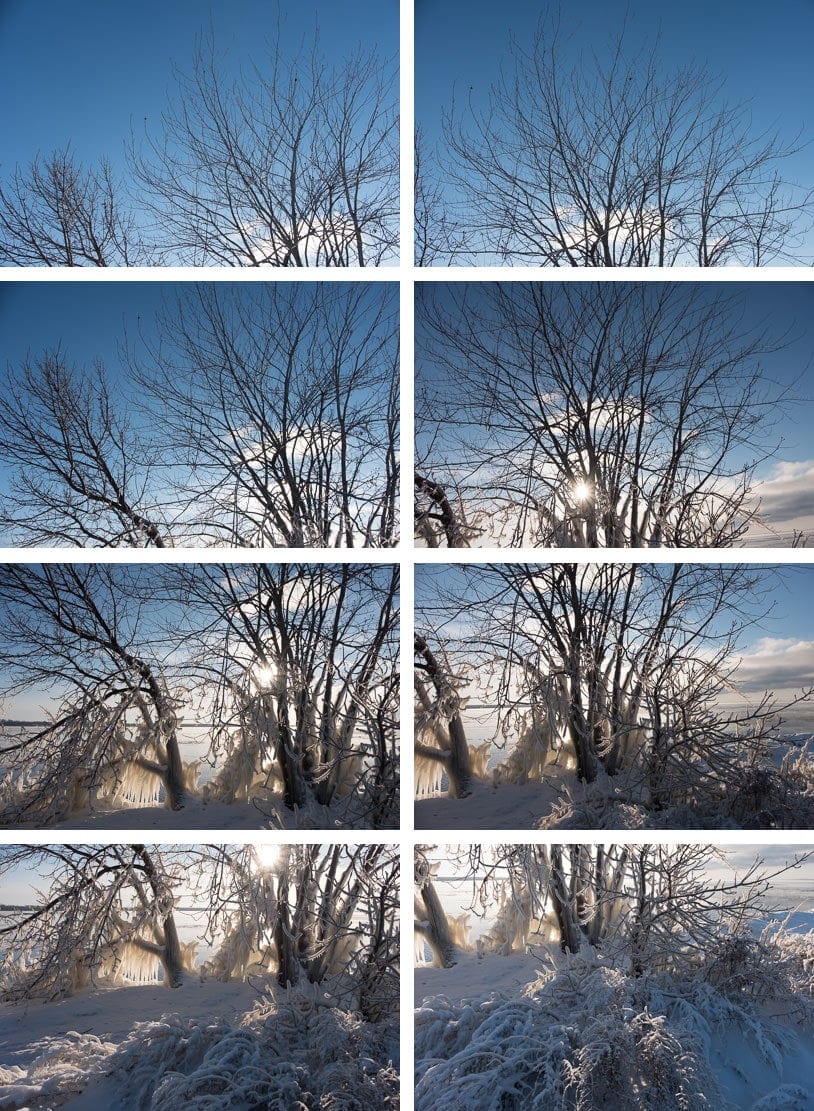
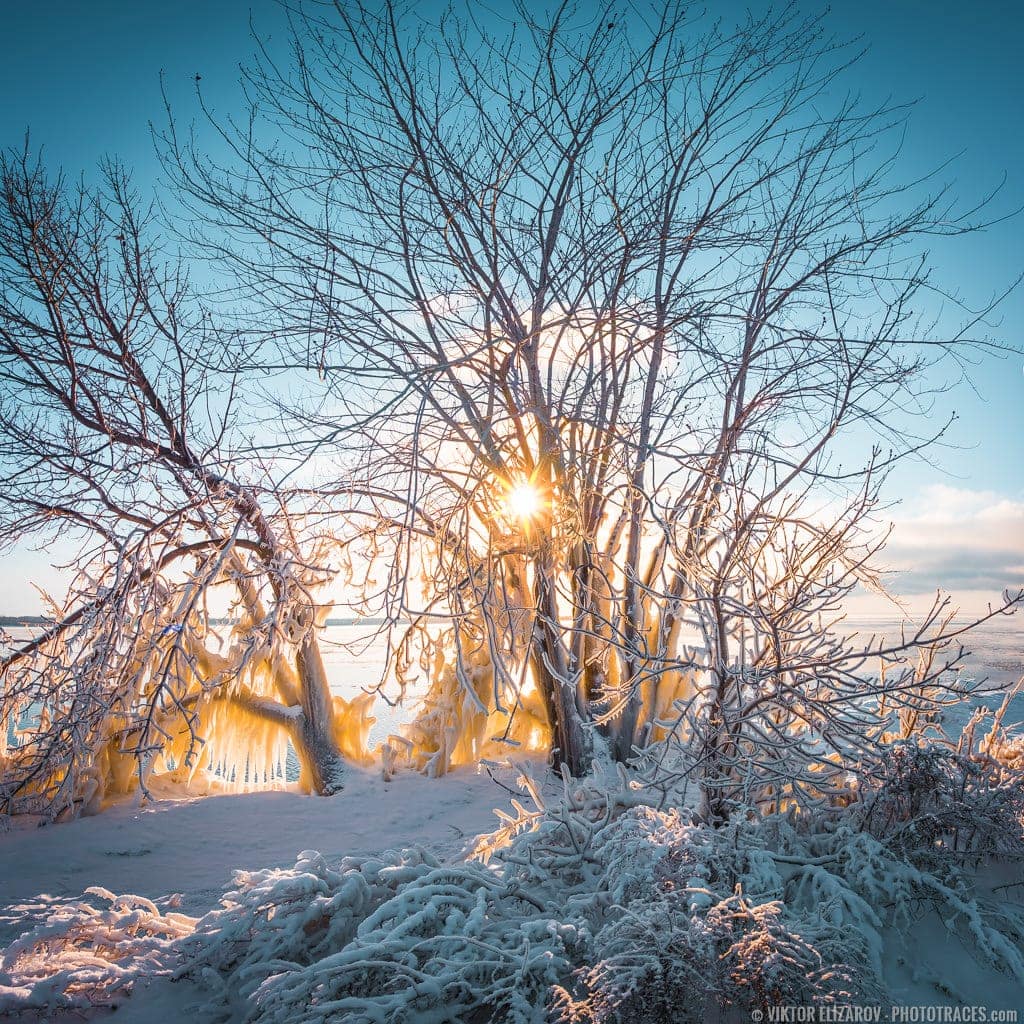
Right here’s an instance of what a non-panoramic picture seems like:
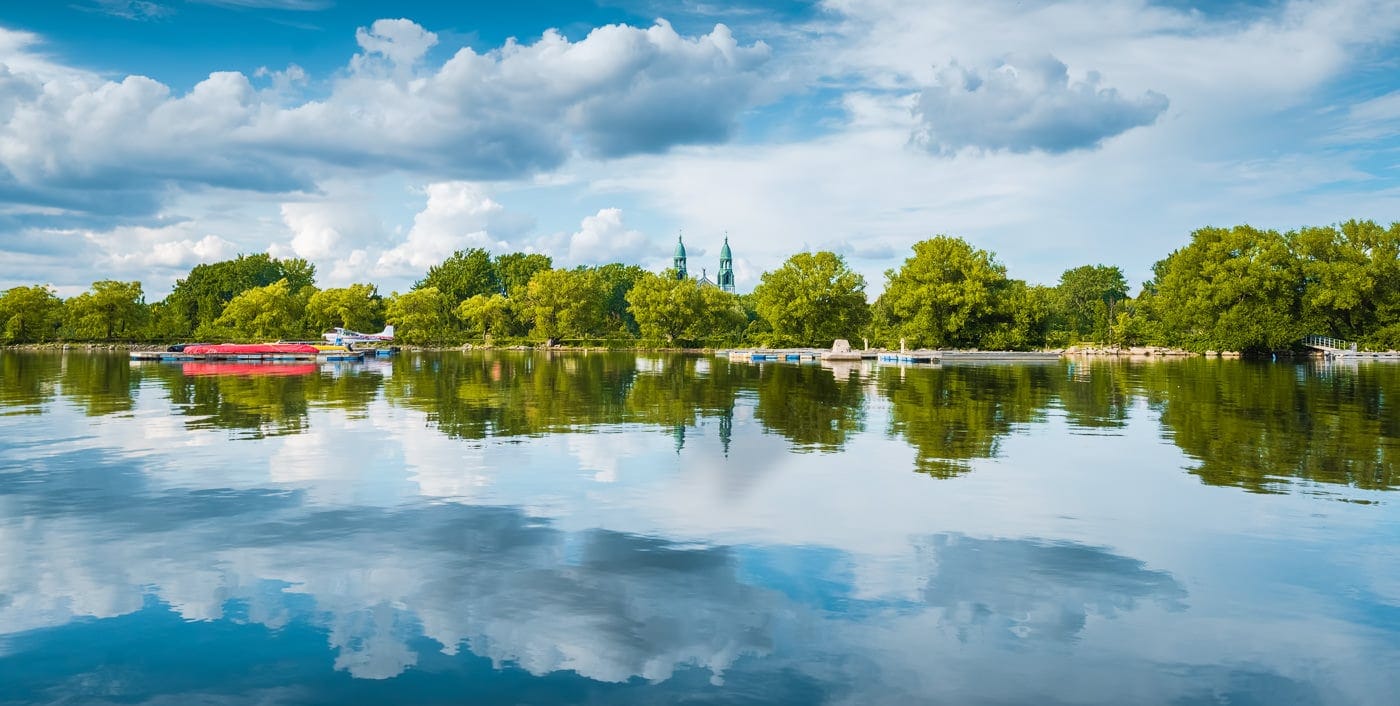
And right here’s the identical scene however photographed as a panorama:
The panorama picture is much more encompassing, proper? You get extra of the scene than your camera-lens mixture may seize with a single shot.
Causes for Taking pictures Panoramas
I’ve already talked about what a panorama picture really is.
However why would you need to shoot one? What’s the worth in capturing a panoramic picture, particularly when panoramas take way more time to arrange than single photographs?
It turns on the market are 4 easy the explanation why you would possibly need to shoot a panorama.
Let’s check out each in flip:
1. To Seize a Larger/Wider Slice of Actuality
That is the preferred cause for doing panoramic pictures:
It enables you to present extra inside a single remaining picture.
So when you’re standing earlier than a mountain vary, you gained’t need to resolve which peak to {photograph}; as a substitute, you should use a panorama to encapsulate your entire scene.
Be aware that you are able to do this with telephoto lenses, wide-angle lenses, or something in between as a result of there’s no focal size restriction in relation to panoramic pictures.
Simply do not forget that a panorama will show a wider discipline of view than your present lens can present (so a telephoto panorama would possibly provide the equal discipline of view to a wide-angle lens, and a wide-angle lens would possibly provide the equal discipline of view to an ultra-wide lens).
2. To Keep away from Perspective Distortion of Huge-Angle Lenses
The broader your lens, the extra it’ll be affected by perspective distortion, the place nearer objects loom giant within the body and distant objects look tiny. Whereas this isn’t at all times an issue–in reality, it’s what permits panorama photographers to emphasise foreground topics–there are occasions whenever you need to preserve all objects wanting comparable in dimension.
That’s whenever you flip to panoramic pictures.

Bear in mind how I stated you possibly can get a wide-angle discipline of view utilizing a telephoto lens? That’s what the objective is, right here: to shoot with an extended focal size, unaffected by wide-angle perspective distortion, but nonetheless get the broader, expansive discipline of view.
So by capturing your “huge” panorama with a telephoto lens, you may get a a lot much less distorted picture.
3. To Produce Increased Resolutions for Printing
The extra decision you must work with, the larger you may print, and the higher your print will look when considered from shut up.
Now, a traditional picture taken with a 24 MP sensor would possibly assist you to comfortably print a 14×20 picture.
However with a 3-shot panorama, you’re working with 72 MP of information, not 24 megapixels of information. And although elements of the photographs will overlap (see my dialogue of methods to really take a panorama, under), you’ll nonetheless have a lot extra knowledge to work with, which interprets to enhanced printing capabilities.
As an example, you would possibly find yourself with round 48 distinctive megapixels, which implies you possibly can print at round 26 x 20 and get a pleasant consequence, even when viewing the print from shut up.
Make sense?
4. To Create Extremely Huge-Angle Photographs
Right here’s the ultimate cause to do panoramic pictures:
In case your widest lens isn’t huge sufficient.
Say you need to seize a shot of a waterfall, one which reveals off the grandeur of the falls with out leaving something to the creativeness. However you’re standing on a ledge and also you nonetheless can’t embrace your entire scene in your body.
That’s whenever you shoot a panorama. You seize a number of photographs that embody your entire falls, you then sew them collectively later for an ultra-wide consequence.
Sorts of Panoramas
Relying on the consequence you’re after, you’ll need to contemplate one in every of these three panorama varieties:
Single Row Huge Panoramas
These are customary panoramas, utilizing a number of photographs merged collectively to create a wider picture than you’d usually have the ability to seize.
The ultimate result’s horizontal in its orientation, however–usually talking–the unique RAW photographs shall be vertical.
Vertical Panoramas
Vertical panoramas are like huge panoramas, however oriented vertically.
So as a substitute of capturing a sweeping shot that encompasses your entire panorama, you should use them to {photograph} a vertical topic, such because the panorama plus the sky, an enormous waterfall, or a large mountain.
Be aware that vertical panoramas usually begin as separate horizontal photographs which are then stitched to turn out to be a single vertical picture.
Multi-Row Panoramas
Multi-row panoramas are like deluxe panoramas, since you seize a number of rows of panoramic photographs, all with plenty of overlap.
So that you would possibly seize three photographs within the prime row, then shift down barely and seize three photographs within the center row, after which shift down once more and seize three photographs within the backside row.
You’d in the end find yourself with 9 separate photographs, which might then be stitched collectively for one huge, high-resolution consequence.
Tools Used for Panorama Panoramas
Right here’s the gear you want for excellent panoramas:
Important Tools
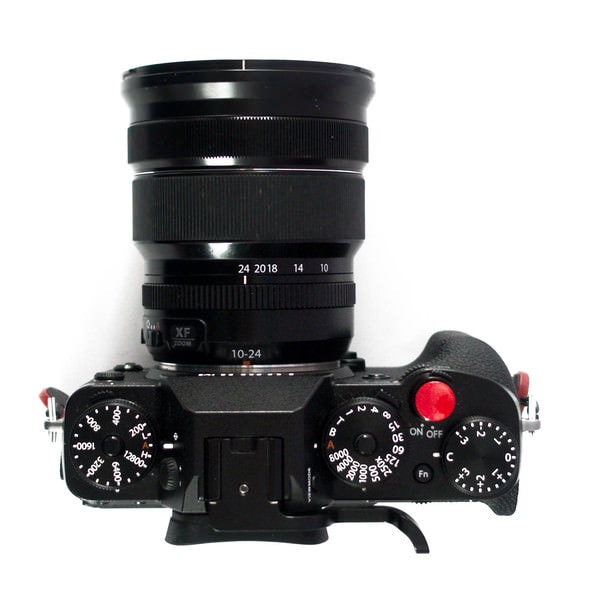
If you wish to seize panoramas, you want a digicam and a wide-angle lens. That’s all.
You may be questioning:
What a couple of tripod?
However the reality is, whereas tripods are very helpful for panoramic pictures (see the following part!), they’re not essential. You are able to do handheld panoramas, or you may perch your digicam on one thing stationary (like a desk) earlier than capturing.
Fascinating Tools
When you’re enthusiastic about doing panoramas recurrently, I like to recommend getting your self some devoted gear.
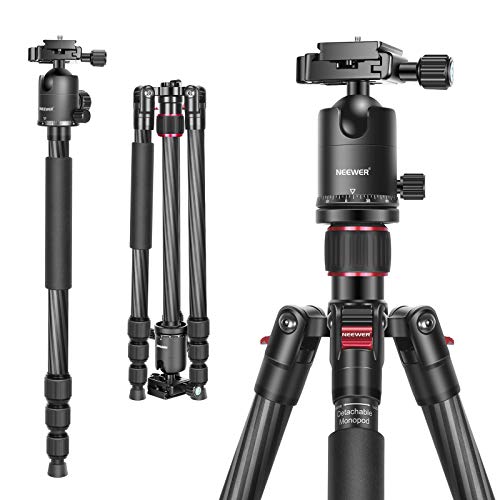
Tripod
First, you’ll desire a tripod, ideally one which comes with a stage (so to make sure the tripod floor is flat earlier than mounting your digicam).
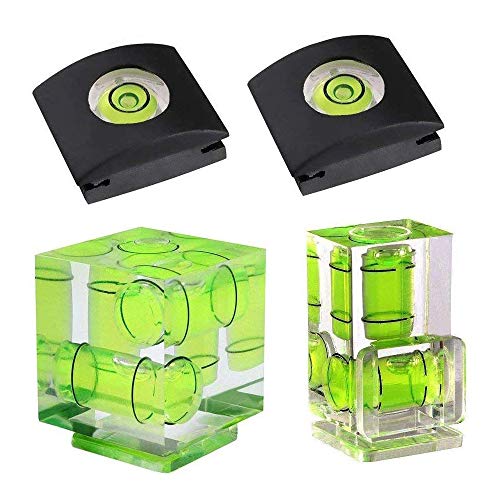
Stage
When you don’t have a stage, you may at all times buy one and mount it to the highest of your digicam (by way of the new shoe).
Second, you’ll desire a tripod head. There are particular panorama heads that assist you to rotate your digicam easily, however you’ll additionally just do effective with a regular ball head.
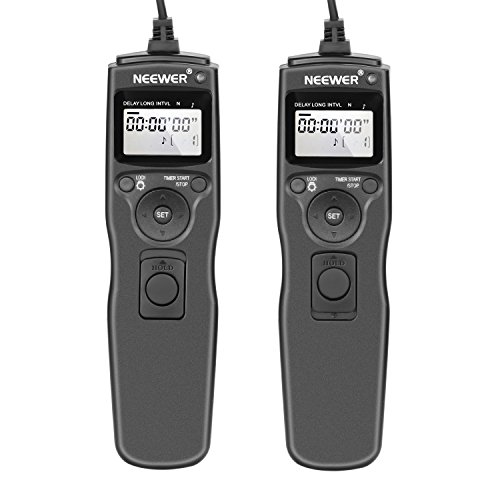
Shutter Distant Launch
Third, it is best to seize a distant launch. This may assist you to set off your digicam’s shutter remotely–to stop digicam shake from urgent the shutter button. Whereas it’s potential to make use of the self-timer, I personally favor a distant launch, which is quicker and fewer annoying to work with.
Skilled Panoramic Setup
When you’re an expert who focuses on panoramic pictures, otherwise you merely have to persistently seize expert-level panoramas, you then’ll need to contemplate including a particular tripod head to your package, one designed for panoramic work.
You’ll additionally need to buy a nodal slide, which is a small piece of steel that positions your digicam out over the tripod, like this:
What’s the purpose of a nodal slide?
Properly, a nodal slide is designed to fight parallax. That is one thing people expertise on a regular basis; whenever you have a look at a detailed object, then transfer your head, you’ll discover that the shut object strikes in relation to the background.
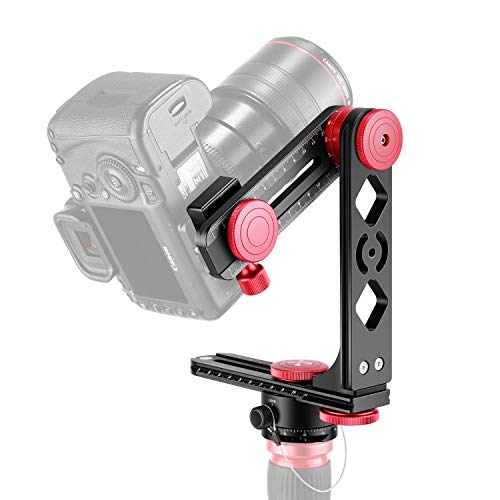
Once you’re taking a sequence of panoramic photographs and rotating your digicam, you’ll find yourself with parallax, too, particularly if in case you have any foreground objects in your scene.
The answer is a nodal slide, which repositions your digicam in order that it rotates round a degree (the nodal level, it’s known as) and eliminates parallax.
How one can Shoot Panoramic Pictures
Now that you just’re accustomed to the various kinds of panoramic pictures and why you would possibly need to take a panorama, the precise capturing course of needs to be a chunk of cake!
Right here’s the way it works:
Step 1: Compose Your Pictures and Select an Orientation and Route
An awesome panorama begins with composition.
Search for fascinating foreground parts, fascinating middleground parts, and fascinating background parts. Attempt to verify each a part of your scene has a goal.
Resolve whether or not you’re going to take a vertical panorama, a horizontal panorama, or a multi-row panorama.
Additionally be aware any transferring objects within the scene. If the objects aren’t important to the composition, then I’d suggest ready for them to cross by (although you may at all times shoot a number of photographs and masks the transferring object out later, or you may simply clone it out).
Step 2: Set Up Your Digicam, Making Positive It’s Stage
Now it’s time to arrange your digicam.
First, you’ll need to place it within the appropriate orientation. When you’re doing a vertical panorama, you’ll most likely need to go along with a horizontal orientation (as a result of it’ll stop your picture from turning into ridiculously tall and really skinny), and when you’re doing a horizontal panorama, you’ll most likely need to do the alternative.
When you’re handholding, ensure you’re in a secure place. When you’re utilizing a tripod, organize the legs fastidiously.
Bear in mind: The extra stage your digicam, the higher the panorama will prove. That is the place a spirit stage turns out to be useful, and whilst you don’t have to work with one, it’ll stop you from shedding element on the edges of your body.
Step 3: Set Your Publicity for Each Panoramic Picture
For the perfect outcomes, I like to recommend utilizing Guide mode to set your publicity. Merely meter off a impartial portion of the scene, then dial on this publicity and don’t change it.
You too can use Aperture Precedence, however you’ll have to lock the publicity earlier than the primary shot (and preserve it locked whereas capturing).
Your publicity shouldn’t change whereas capturing. If it does, it isn’t the top of the world–panoramic stitching software program can deal with this beautiful nicely–however it’s a good suggestion to get it proper from the start.
Step 4: Manually Set Your Focus (Utilizing Commonplace Depth of Discipline Calculations)
Subsequent, it’s time to decide on your level of focus. You’ll need to intention for the hyperfocal distance, and also you’ll have to lock this for your entire sequence of photographs (which is why I’d suggest utilizing guide focus).
Keep in mind that you just gained’t get any further depth of discipline resulting from a wider panoramic discipline of view. The ultimate picture will make you appear farther away out of your topic, however the depth of discipline will stay the identical. So do your hyperfocal distance calculations utilizing your lens’s focal size (as when you have been capturing a traditional shot).
Step 5: Take the Pictures With at Least 30% Overlap Between Every File
Lastly, it’s time to seize your panorama.
You’ll need to begin on the leftmost (or bottommost) a part of the composition, take a shot, shift your digicam barely, take one other shot, shift your digicam barely extra, and so forth, till you’ve captured your entire scene.
Be sure to embrace enough overlap between every shot, in order that your stitching software program can simply line up the photographs later; I’d suggest going with no less than 30% overlap, and something greater than this will even work effective (however an excessive amount of overlap will waste photographs and take further time).
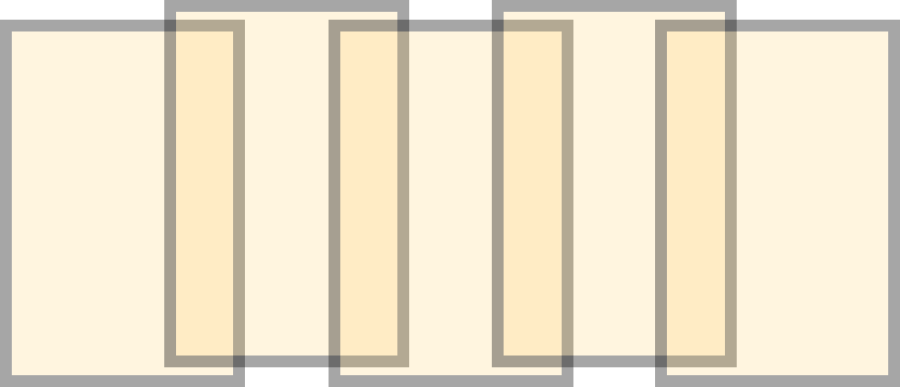
However, after I shoot panoramas handheld, I typically go for as much as 50% overlap to verify I’ve sufficient pixels for stitching.
Now, when you take a number of panoramas, then the modifying can get complicated. You’ll have lots of of barely overlapping information and no option to inform which photographs go collectively.
It’s a good suggestion to start out each panorama sequence with a shot of your finger, and finish each panorama sequence with a shot of your fist. If you wish to make issues even simpler, level your finger within the path of the panorama, so you may simply reconstruct your sequence of photographs in a while!
Conclusion
Doing panoramic pictures isn’t arduous, and it may give you nice outcomes!
So ensure you keep in mind the steps from this information.
And also you’ll have the ability to seize gorgeous panorama photographs everytime you like!
By the way in which, ensure you examine again for our subsequent article, the place we’ll present you methods to sew your panorama photographs collectively for the perfect leads to Lightroom and Photoshop.